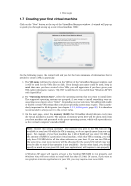
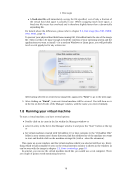
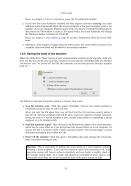
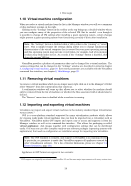
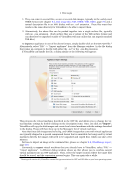
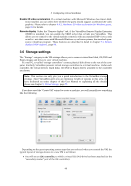
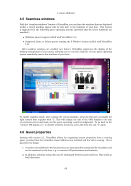
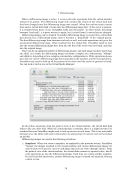
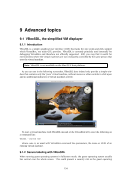
1 First steps 1.8.1 Starting a new VM for the first time When a VM gets started for the first time, another wizard – the “First Start Wizard” – will pop up to help you select an installation medium. Since the VM is created empty, it would otherwise behave just like a real computer with no operating system installed: it will do nothing and display an error message that no bootable operating system was found. For this reason, the wizard helps you select a medium to install an operating system from. • If you have physical CD or DVD media from which you want to install your guest operating system (e.g. in the case of a Windows installation CD or DVD), put the media into your host’s CD or DVD drive. Then, in the wizard’s drop-down list of installation media, select “Host drive” with the correct drive letter (or, in the case of a Linux host, device file). This will allow your VM to access the media in your host drive, and you can proceed to install from there. • If you have downloaded installation media from the Internet in the form of an ISO image file (most probably in the case of a Linux distribution), you would normally burn this file to an empty CD or DVD and proceed as just described. With VirtualBox however, you can skip this step and mount the ISO file directly. VirtualBox will then present this file as a CD or DVD-ROM drive to the virtual machine, much like it does with virtual hard disk images. For this case, the wizard’s drop-down list contains a list of installation media that were previously used with VirtualBox. If your medium is not in the list (especially if you are using VirtualBox for the first time), select the small folder icon next to the drop-down list to bring up a standard file dialog, with which you can pick the image file on your host disks. In both cases, after making the choices in the wizard, you will be able to install your operating system. 1.8.2 Capturing and releasing keyboard and mouse As of version 3.2, VirtualBox provides a virtual USB tablet device to new virtual machines through which mouse events are communicated to the guest operating system. As a result, if you are running a modern guest operating system that can handle such devices, mouse support may work out of the box without the mouse being “captured” as described below see chapter 3.4.1, “Motherboard” tab, page 43 for more information. Otherwise, if the virtual machine only sees standard PS/2 mouse and keyboard devices, since the operating system in the virtual machine does not “know” that it is not running on a real computer, it expects to have exclusive control over your keyboard and mouse. This is, however, not the case since, unless you are running the VM in full-screen mode, your VM needs to share keyboard and mouse with other applications and possibly other VMs on your host. As a result, initially after installing a guest operating system and before you install the Guest Additions (we will explain this in a minute), only one of the two – your VM or the rest of your computer – can “own” the keyboard and the mouse. You will see a second mouse pointer which will always be confined to the limits of the VM window. Basically, you activate the VM by clicking inside it. To return ownership of keyboard and mouse to your host operating system, VirtualBox reserves a special key on your keyboard for itself: the “host key”. By default, this is the right Control key on your keyboard on a Mac host, the default host key is the left Command key. You can change this default in the VirtualBox Global Settings. In any case, the current setting for the host key is always displayed at the bottom right of your VM window, should you have forgotten about it: 19
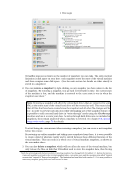
Purchased from Demo (abedemo.tizrapublisher.com) for the exclusive use of unknown.
© 2026 Demo. Please report unauthorized use to pirate@tizra.com